Adding images to your website
While adding text is one of the first steps in creating and customizing your website design, adding images is what brings your website to life. There are a few ways to add images to your web pages: individual image element, slideshow, image slider, image gallery and background images.
In this article, we will show you how to add single images to your website using the Image tool in your Website.com editor as well as where to find the style and settings controls for image editing. We will also show you how to access the free stock image library that’s built into your Website.com editor.
Adding images to your website
The most commonly used tool is the individual image element. This tool allows you to add a single image onto your web page.
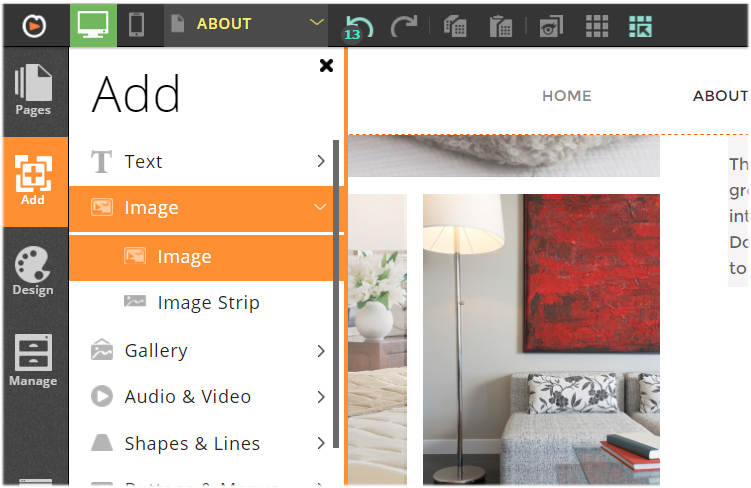
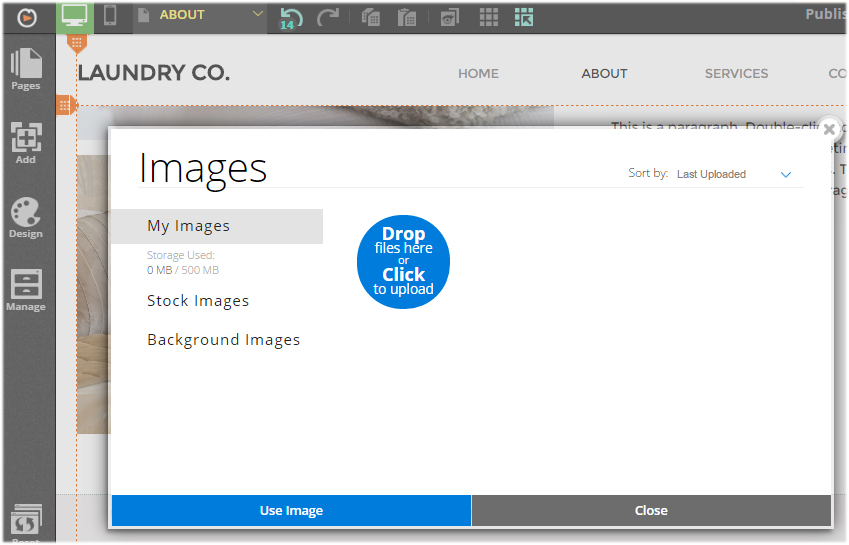
There are several ways to add a photo. The most direct way is to upload the image from your computer, which can be done by clicking on the Upload button or by dragging an image into the image uploader.
If you have uploaded an image previously and want to use it again, you will find the image listed in the My Images library.
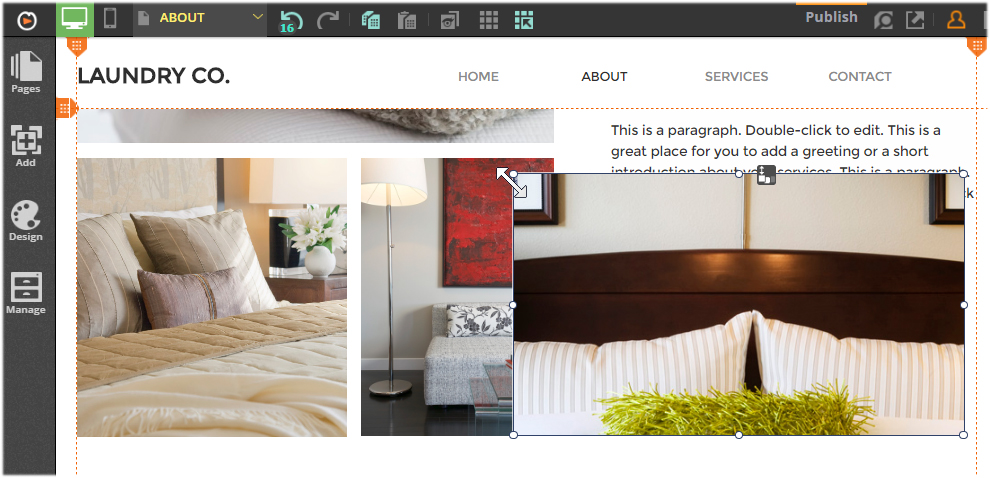
Once you have uploaded your image and added it to your web page, you can drag it to the desired location on the page. Images can also be re-sized freely by dragging the image handlers (or corners and edges).
Website.com Stock Image Library
The other way to add an image to your web page is by selecting an image from the Website.com Stock Image library.
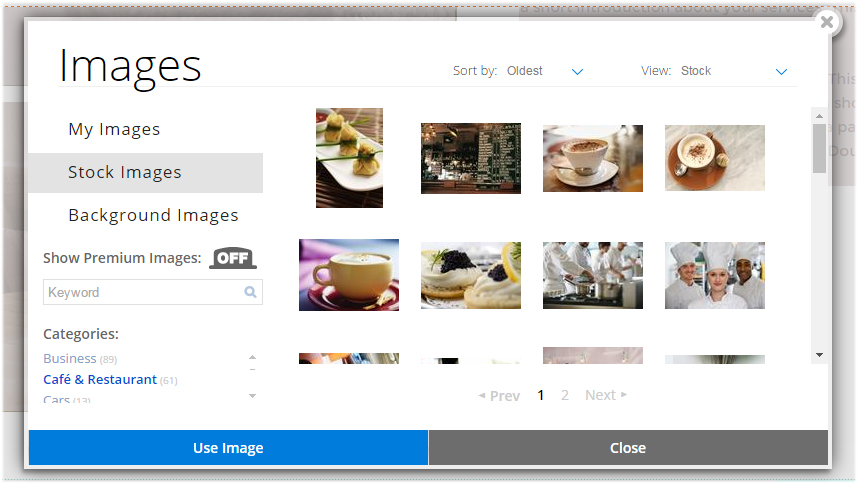
The Website.com Stock Image library houses thousands of professional, high-quality images that you can use on your website.
Image editing options
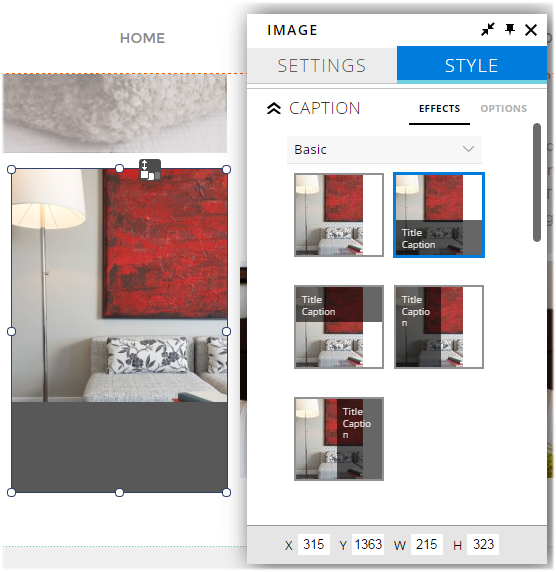
Once the image has been added to your web page, you can click on it to open the Image menu for further customizations, including pan & zoom and rotate the image.
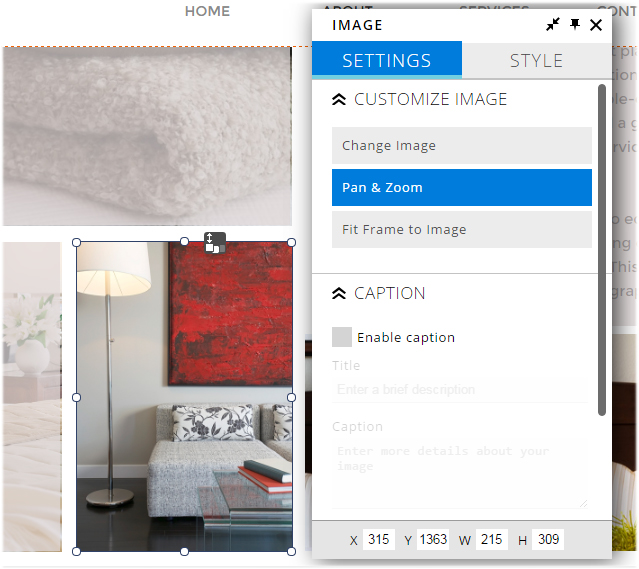

You can also customize the image’s style, including caption layouts, caption font style, image border and shadow options.
